
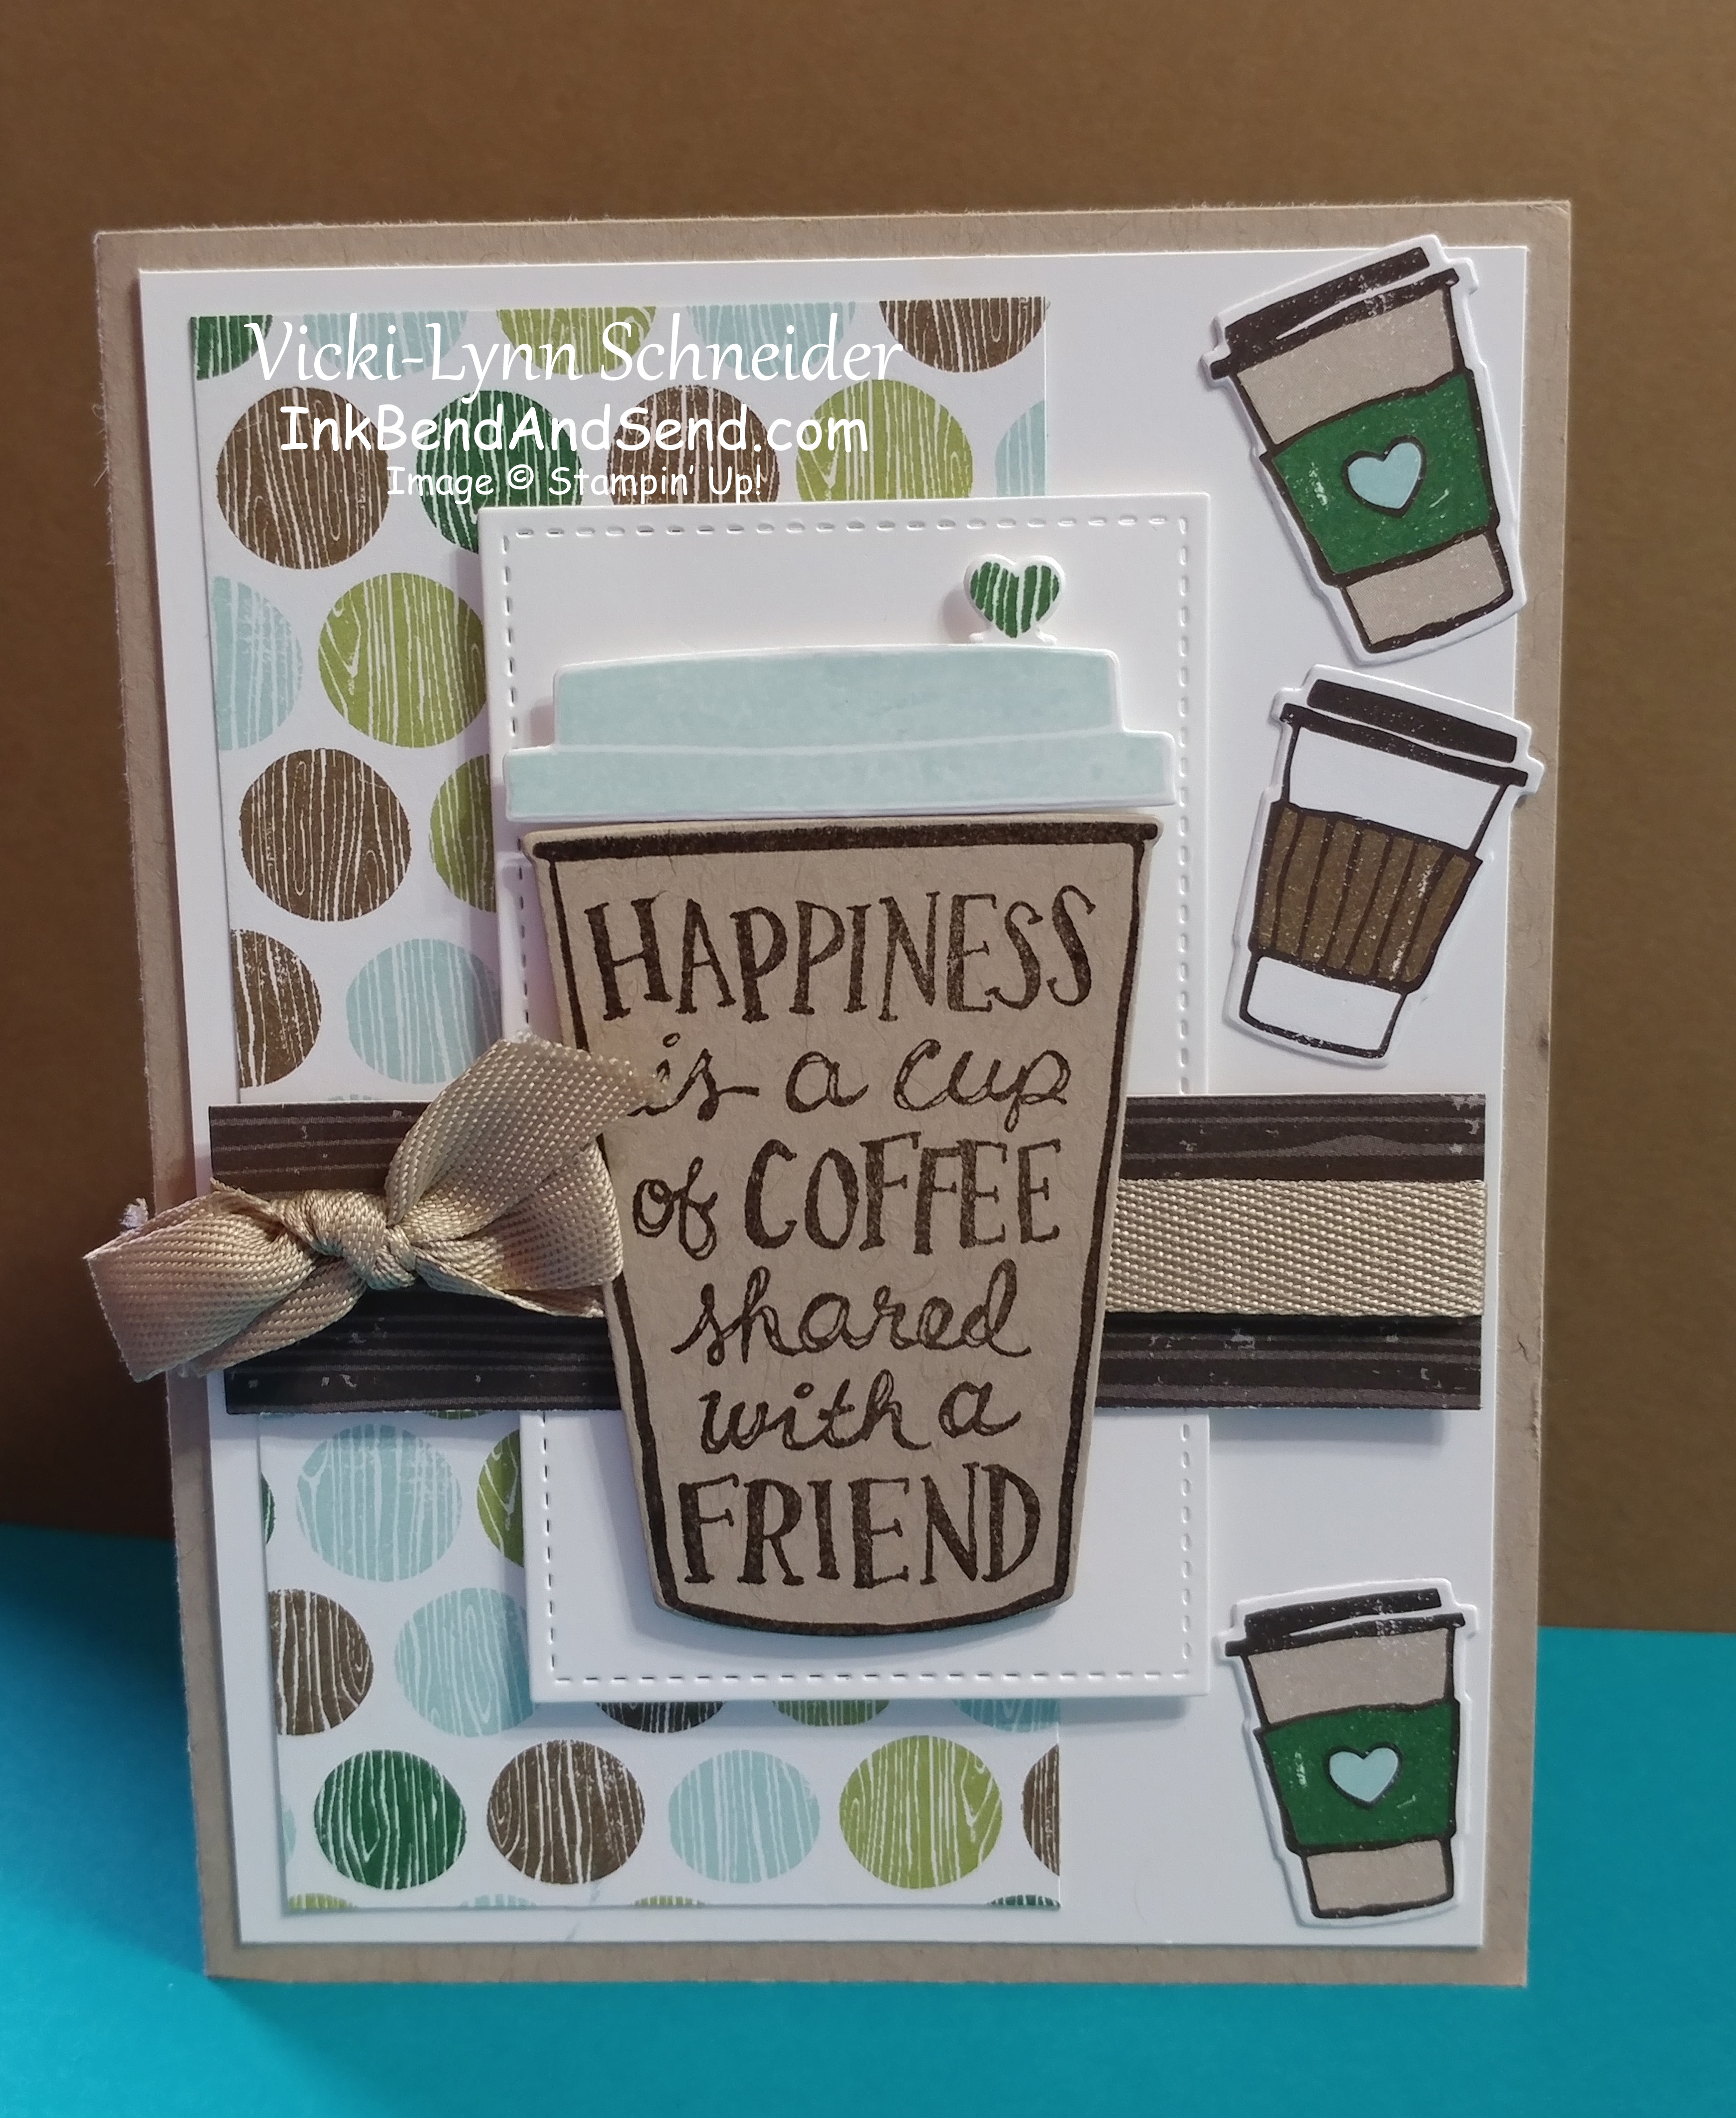
I love this new stamp set from Stampin’ Up! The Coffee Café Stamp Set and Coffee Cups Framelits Dies make a simply delicious combination! Plus, you’ll save 10% when you buy them in a bundle!
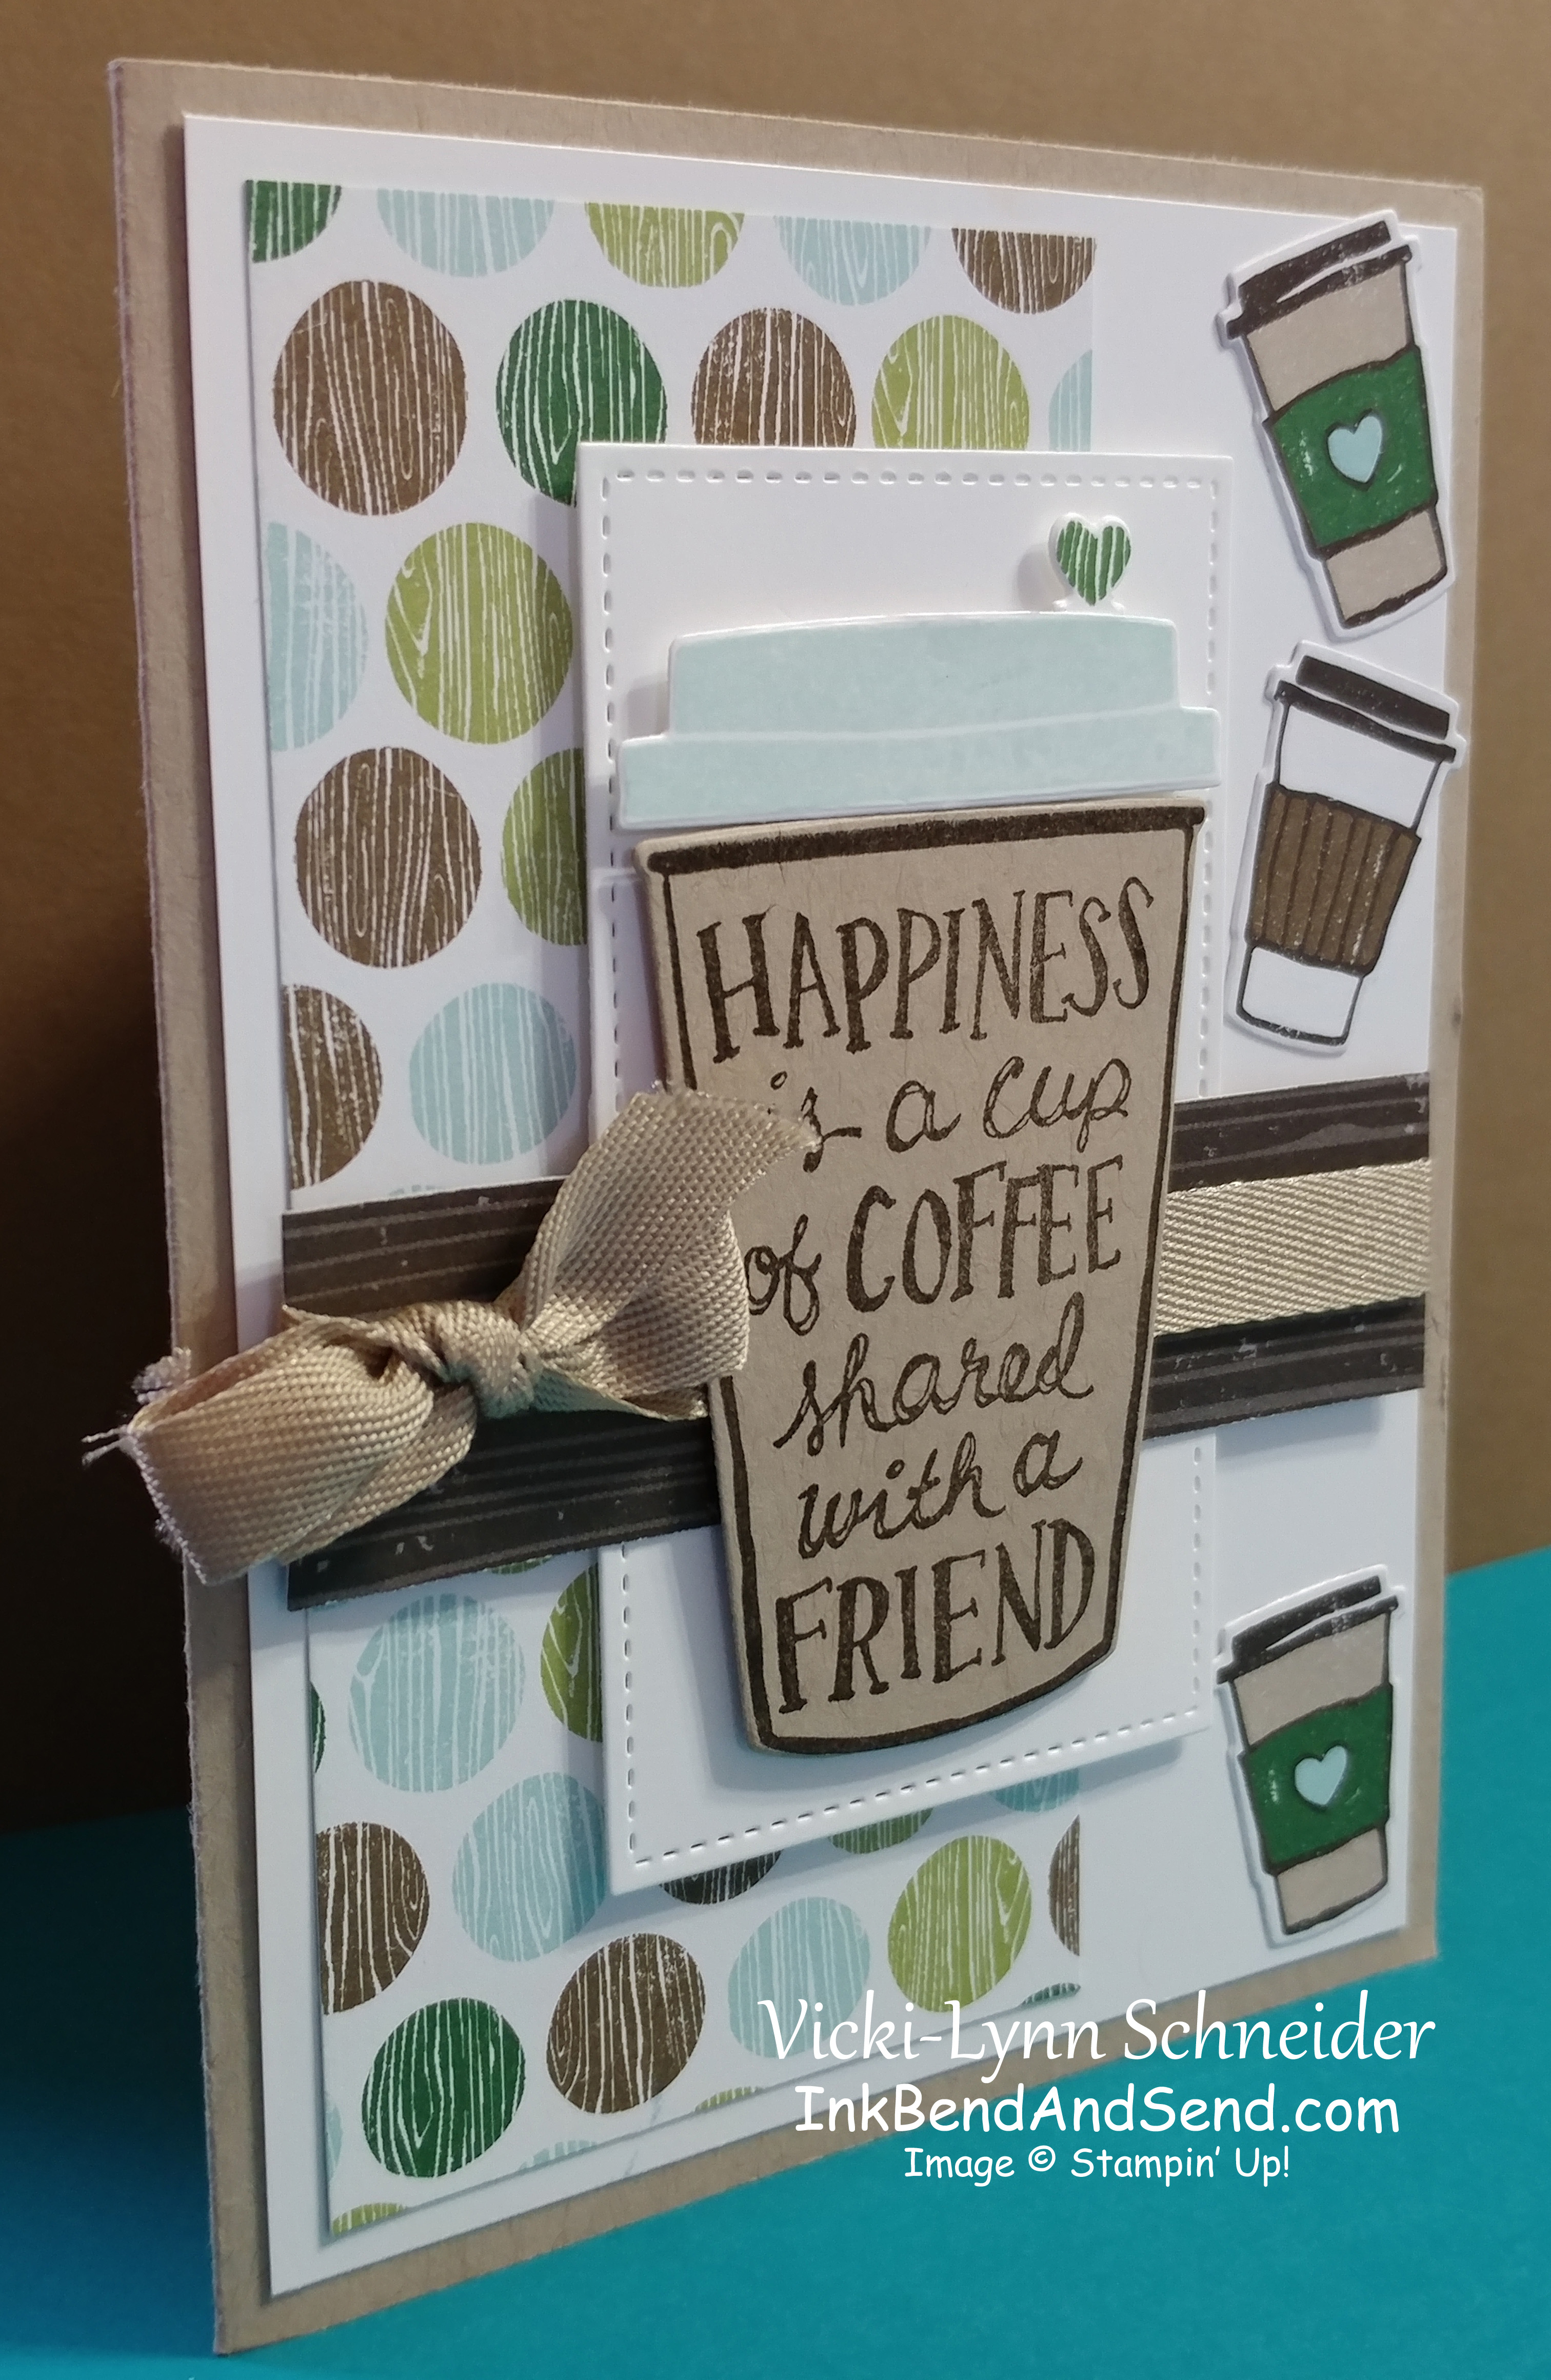
- To start, I used Crumb Cake for the base of the card (8 1/2 x 5 1/2 inches folded in half) followed by Whisper White for the next layer (5 1/4 x 4 inches). I glued these together and put them to the side for the moment.
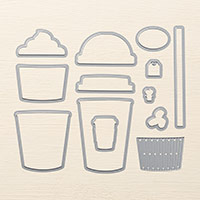
- My next step was to take another piece of Whisper White Cardstock and run it through the Big Shot with the square from the Stitched Shapes Framelits to cut it out.
- Repeat this, as you will need two of them.
- I will be placing these behind the coffee cup. Since we don’t have rectangle Framelits I decided to use two squares and disguise them behind ribbon and paper. Tricky!!!
- The coffee cup outline and words were stamped in Early Espresso Classic Ink on Crumb Cake Cardstock. The coffee cup lid was stamped in Soft Sky on Whisper White.
- I stamped a heart on Whisper White Cardstock with Garden Green Classic Ink. Then I used the Big Shot to cut all of these pieces out with their coordinating Framelits.
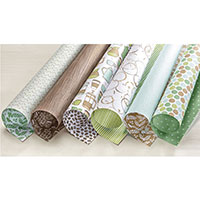
I used 3 different designs from the Coffee Break Designer Series Paper (DSP)
- Cut out a piece of the dot paper that is 5 x 21/2
- Cut out a piece of the brown striped paper 37/8 x 1 inch.
- Take the DSP from the set that has the small coffee cups on it and cut out 3 cups.
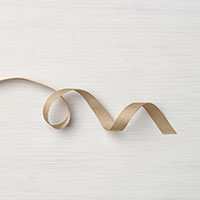
- Use the Crumb Cake 3/8’ Classic Weave Ribbon and wrap it around the brown striped piece of DSP that you just cut and tie a bow.
- Attached it right over the two stitched squares making sure that you create a big enough rectangle for your coffee cup to fit on.
- Grab all your pieces and adhere the cup to the stitched squares & ribbon using the Dimensionals. Don’t forget to put the splash stick in your cup (the Framelit that looks like a heart on the top of a stem).
- I added Dimensionals to the back of the stitched square as well (I can’t help it – I love all the pop!)
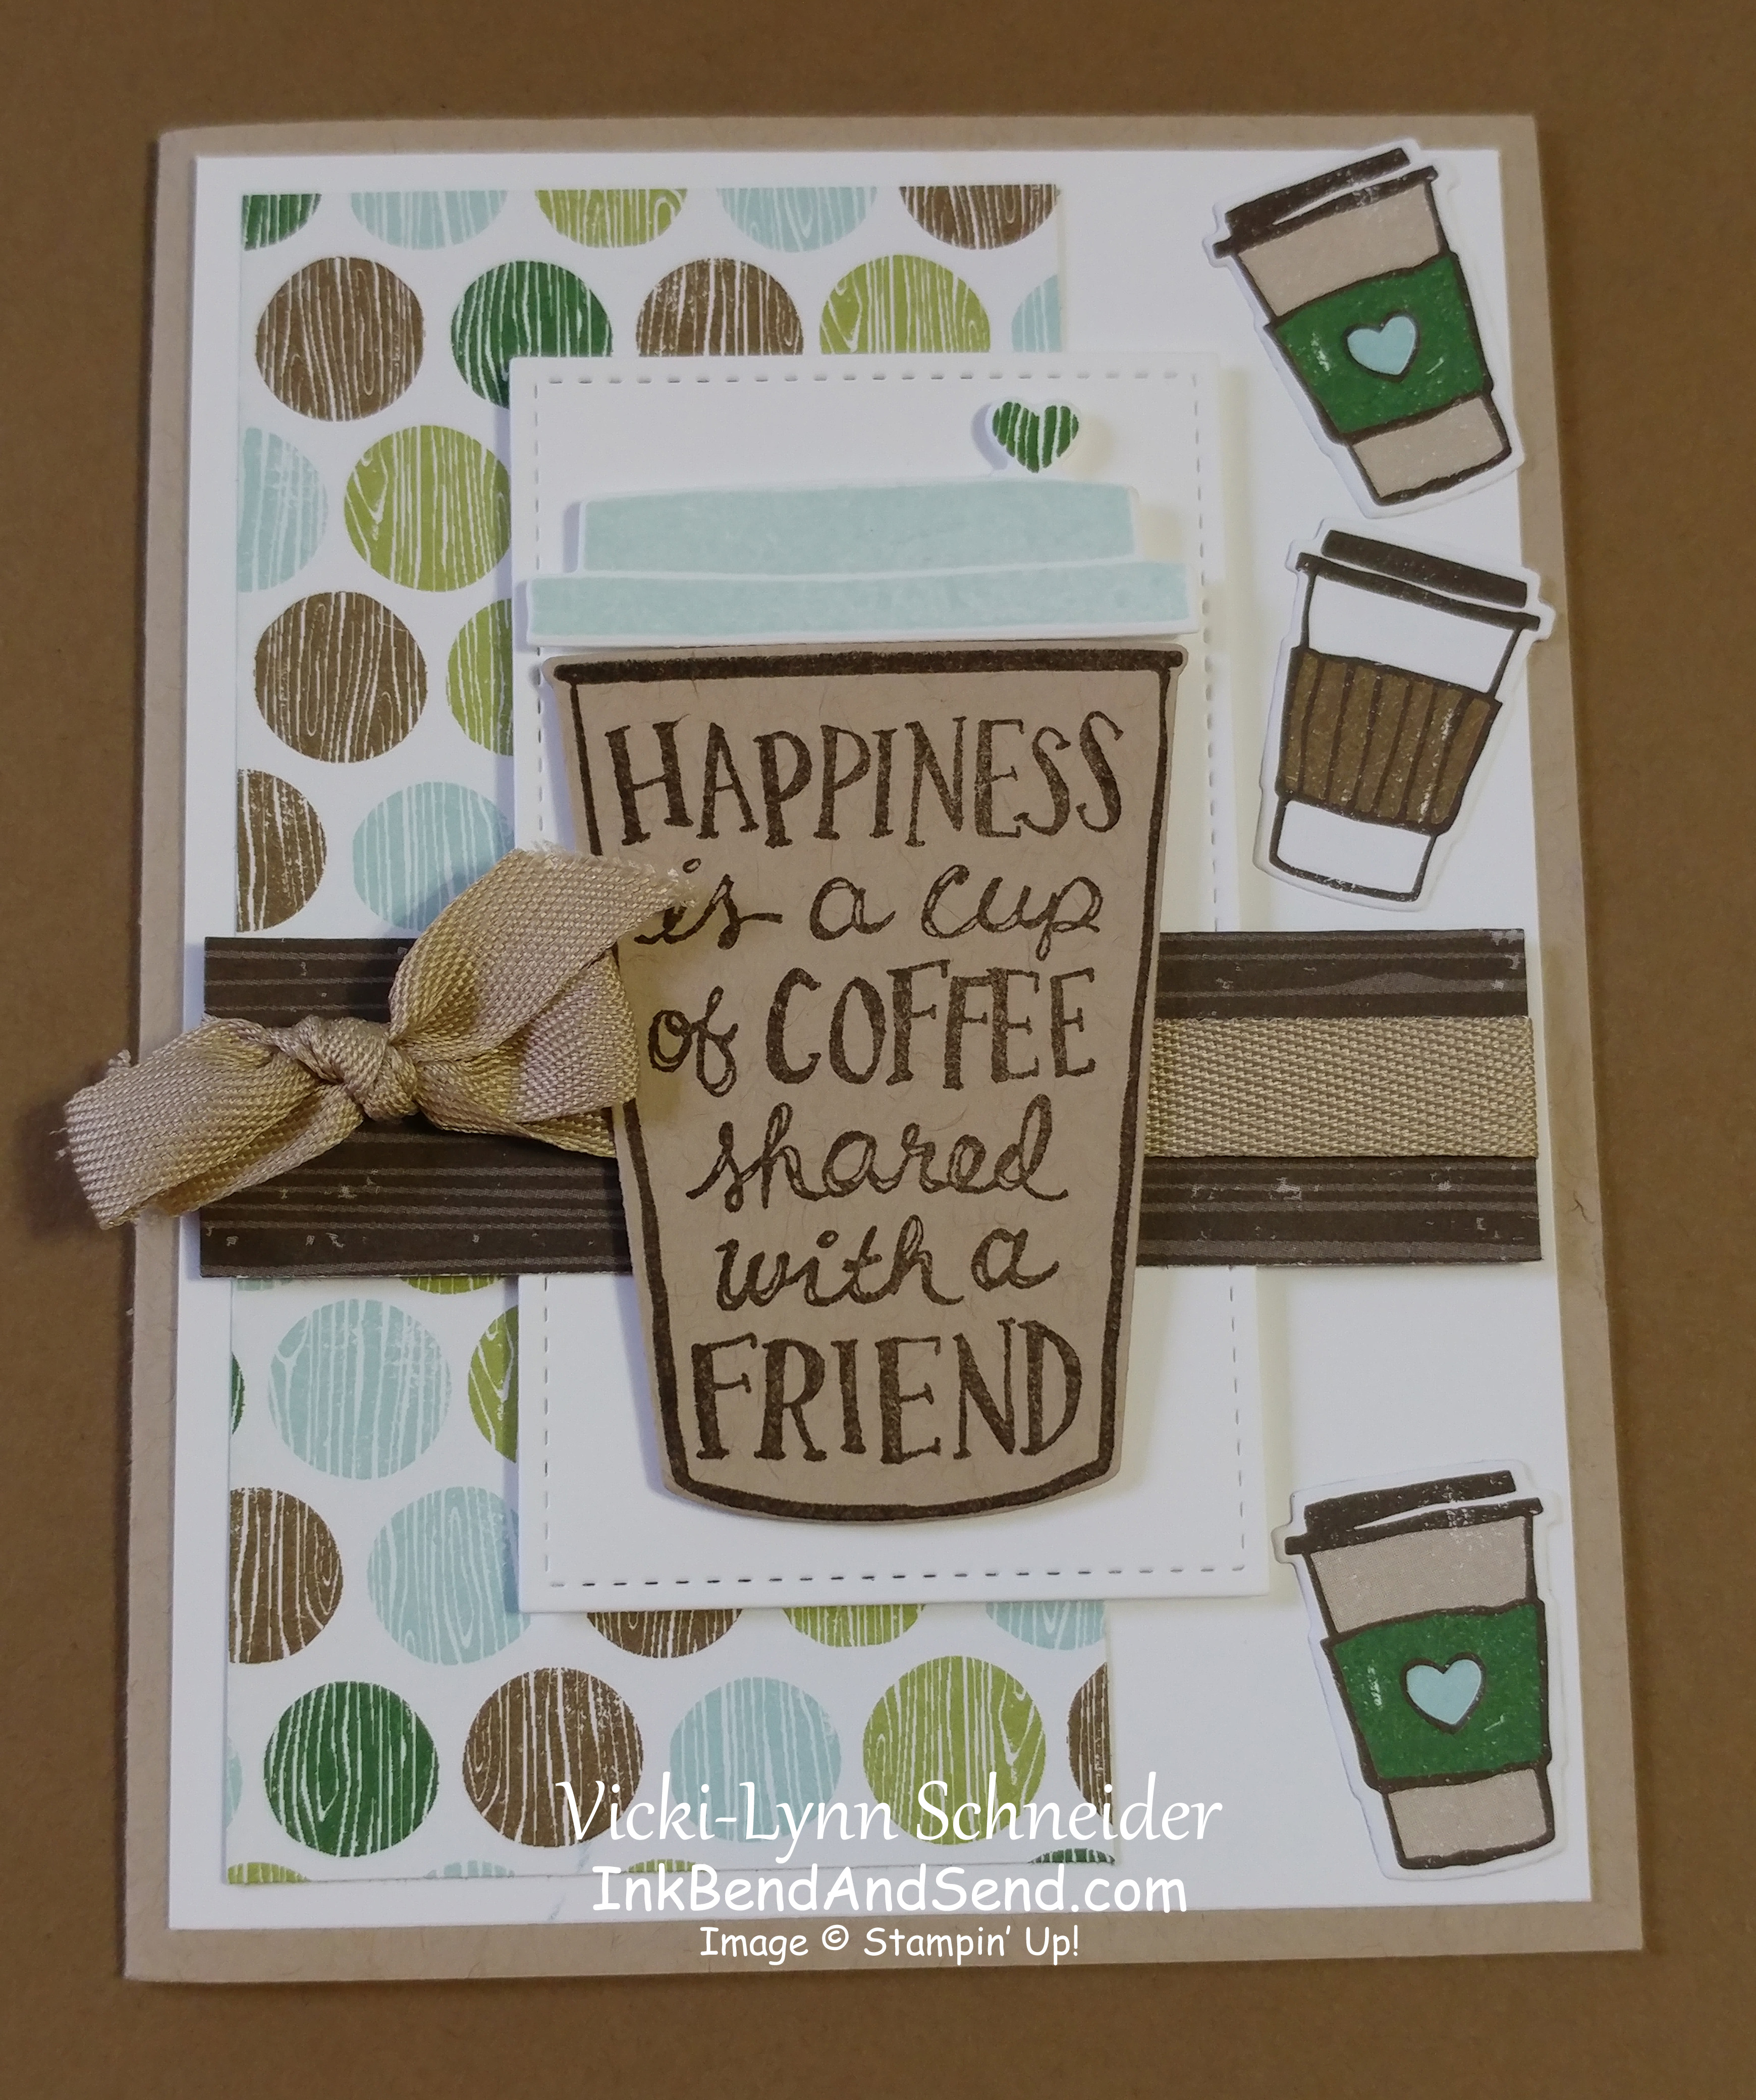
- Attach the dot DSP to the base of your card and then attach the cup ensemble.
- As a final touch, attach the 3 small cups we cut out.
- You are all done!
I hope you had a great time creating with me today. Thank you so much for stopping by.
What you need to create this card…
The easy way to shop! Click on images below for more details or add to your order.


Follow me…